6.3 Create Model Scenarios/Pathways
New models begin with a single Decision Node as designated by a blue square. Because we configured the model to choose the lowest path, the square node marker will include a downward arrow. Since this is the first node in the model, we call it the root node.
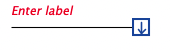
Note the Enter label prompt asking you to enter a label. Every node should be labeled to describe its role within the overall model. Typically, you would enter the name of the case as the root node label.
Note the that Legal Model Wizard can help you build the scenarios much more quickly, but the resulting structure may need additional adjustment after the wizard.
To enter the root node label:
-
Click on the "Enter label" prompt to open the label for editing.
-
Type TV Utilities v. Kool Coal.
-
Press Enter to close the label text with your changes.
We will now create the model's tree structure for the case described in the section Defining the Case.
Begin by adding two branches to the right of the rood node.
To add branches:
-
Double-click the Decision Node.
-
... OR ...
-
Right-click on the decision node and select Add Branch from the context menu.
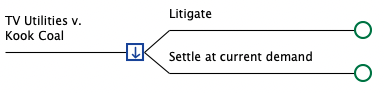
Two branches appear to the right of the root node. Since the root node is a decision node, its branches are the strategies. In this model, there are two strategies - Litigate and Settle at current demand. Enter labels for each strategy as shown above.
Don't be confused by the terms branch and node. Each term refers to a single step in the decision tree model, while branch specifically refers to the nodes emanating directly to the right of a parent node.
We now need to handle the first two issues to be decided in the case.
-
TVU claims the following:
-
KC provided coal that did not meet the contractual specifications.
-
As a result, TVU's equipment was damaged. TVU is demanding $500K in direct damages to repair equipment.
-
The jury will either agree with the plaintiff's claim or they won't - essentially a "yes" vs. "no" on each issue. We will need branches for both.
Add branches for the two primary issues in the case:
-
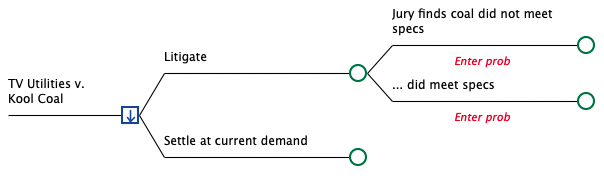
Double-click on the Litigate node to add two branches to the right.
-
Label the top branch Jury finds coal did not meet specs.
-
Label the bottom branch ... did meet specs.
-
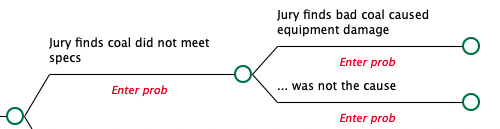
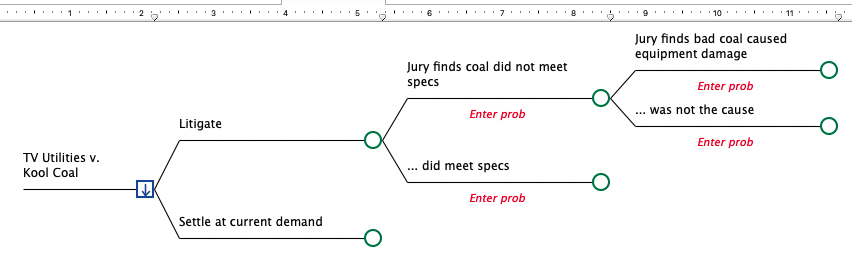
Double-click on the Jury finds coal did not meet specs node to add two branches to the right.
-
Label the top branch Jury finds bad coal caused equipment damage.
-
Label the bottom branch ... was not the cause.
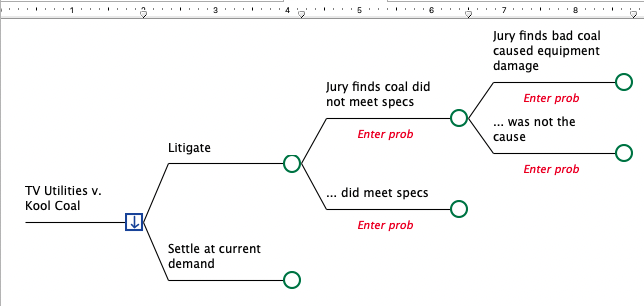
Depending on the size of your screen, the nodes may begin to take up all the horizontal space available in the TreeAge Pro window. You can adjust the width of each sequential node generation using the ruler above the model diagram.
To adjust the width of nodes:
-
In the ruler above the model, drag the "tab markers" left and right.
This will adjust the width of the node generation ending with that tab. See images below before and after adjusting the node widths with the rulers above the tree.
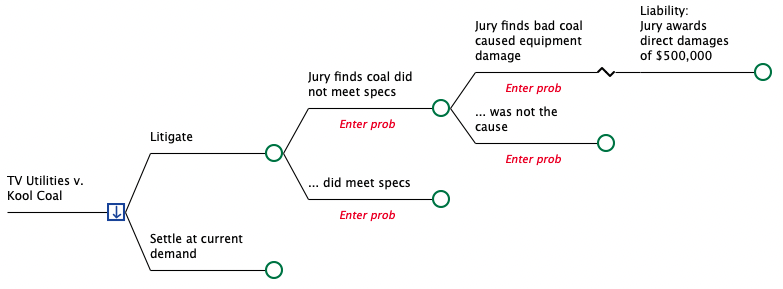
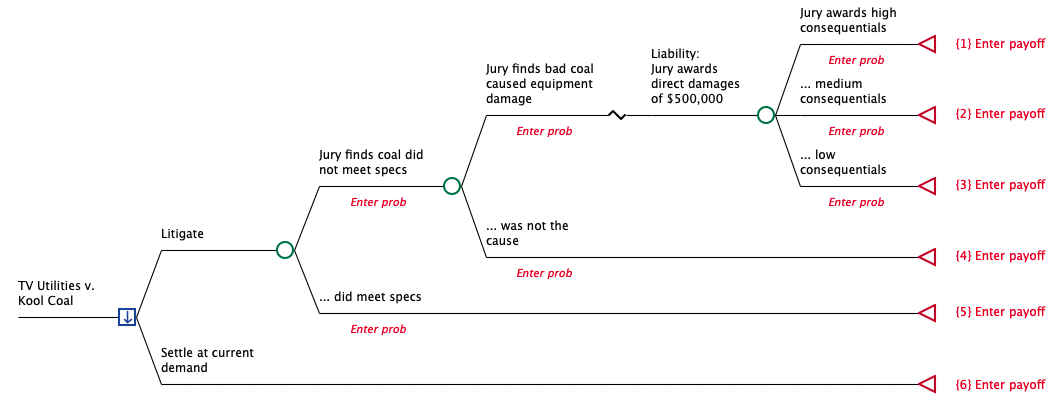
The finding of liability portion of the model is complete. The bottom two endnodes within the Litigate strategy find no liability, while the top Jury finds bad coal caused equipment damage node defines liability. To mark this as a specific point of liability, we will change it to a label node and add a single branch to its right.
To change to a label node and add a branch:
-
Right-click on the Jury finds bad coal caused equipment damage node and choose Change Type > Label from the context menu.
-
Double-click on the same node to add a single branch.
-
Label the branch Liability: Jury awards direct damages of $500,000.
-
By pressing Control+Enter after the word "Liability:", we can force a carriage return into the node label.
-
Label nodes denote a simple transfer from it to the next node. They are typically used to highlight a specific point in the model as we have done with liability here. Note that we could have left the node as a chance node and broken directly into branches related to awards.
At this point, we reach the final claim from TVU.
-
TVU claims that the damaged equipment caused a plant shutdown. TVU is demanding $3.5M in consequential damages for revenue lost during the shutdown.
Our analysis has determined that the judge will rule whether or not the contract permits consequential damages. Then there will be a range of possible consequentials the jury will award.
To add pathways related to consequentials:
-
Double-click on the Liability: Jury awards direct damages of $500,000 node to add two branches.
-
Label the top branch Judge rules consequential damages are permitted.
-
Label the bottom branch ... consequentials not permitted.
-
Double-click on the Judge rules consequential damages are permitted node to add three branches.
-
Label the top branch Jury awards high consequentials.
-
Label the middle branch ... medium consequentials.
-
Label the bottom branch ... low consequentials.
The model scenarios are now nearly complete.

We now just need to terminate each pathway by changing each endnode from a Chance Node to a Terminal Node. Typically, we would enter values representing the value of the case for each scenario. For now, we will terminate the pathways without entering values, which we will cover in the next section.
To terminate model pathways:
-
Right-click on the top terminal node Jury awards high consequentials and choose Change Type > Terminal from the context menu. The Edit Payoff dialog will open.
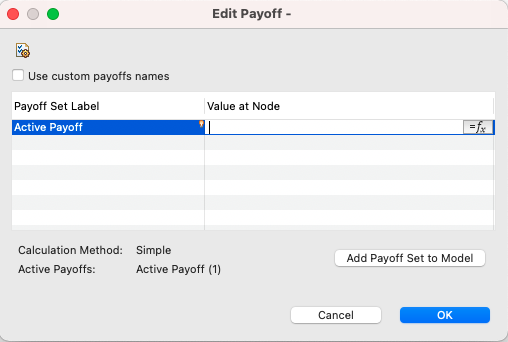
-
Click OK to save the node type change without entering a payoff value.
-
Repeat the above steps for each endnode.
The model structure is now complete.
Note that all terminal nodes align to the right based on the setting Tree Preferences > Display > Tree Editing/Layout > Align endnodes. You can uncheck the box if you do not want endnodes aligned.
We just need to enter values for probabilities and values, which we will cover in the next section.